Installing Ansible
In this lesson we’re going to be setting up our GNS3 lab ready for our up coming Ansible lessons. In addition to this, we’ll also be going to be going through the installation on a Linux machine for real world scenarios.
Linux Setup (Ubuntu)
We’ll start off by installing Ansible on a Ubuntu VM. When you’re using Ansible in the real world, you’ll most likely be running Ansible on a physical machine, VM or container. Because of this, it’s important to understand how to install Ansible.
callum@ANSIBLE-VM01:~$ sudo apt install ansible
[sudo] password for callum:
The first thing we’ll do is open the terminal on our Ubuntu machine and install the Ansible package. This is achieved using the sudo apt install ansible command, followed by the sudo password.
callum@ANSIBLE-VM01:~$ ansible –version
ansible 2.5.1
config file = /etc/ansible/ansible.cfg
configured module search path = [u’/home/callum/.ansible/plugins/modules’, u’/usr/share/ansible/plugins/modules’]
ansible python module location = /usr/lib/python2.7/dist-packages/ansible
executable location = /usr/bin/ansible
python version = 2.7.17 (default, Apr 15 2020, 17:20:14) [GCC 7.5.0]
Once the install has completed, we can verify that Ansible has been installed correctly using the ansible –version command.
The command will tell us the following information:
That’s the Ansible installation completed. Our next step is to configure our Ansible files – we’ll cover this in the upcoming lessons.
GNS3 Setup
Let’s setup our GNS3 lab ready for our upcoming lessons.
To use Ansible within GNS3, we’ll be using a container appliance with Ansible and Python pre-installed.
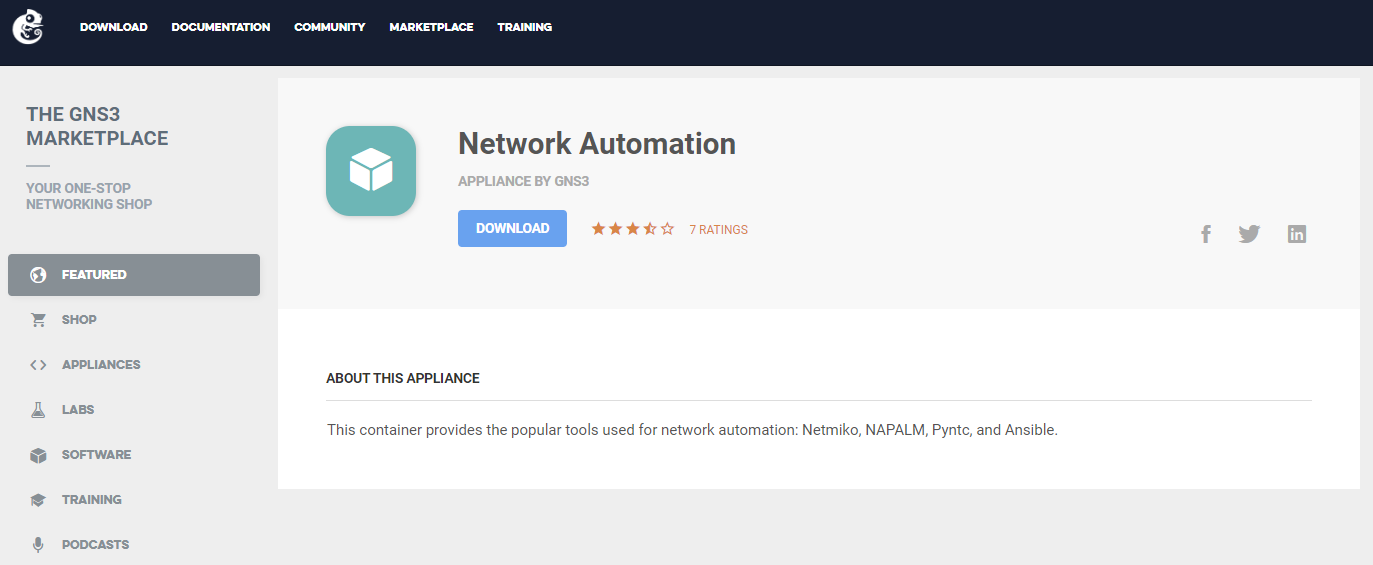
The container we’ll be using is called Network Automation. The first thing we need to do is download the appliance from the GNS3 marketplace
The first thing we need to do is download the appliance using the link above.
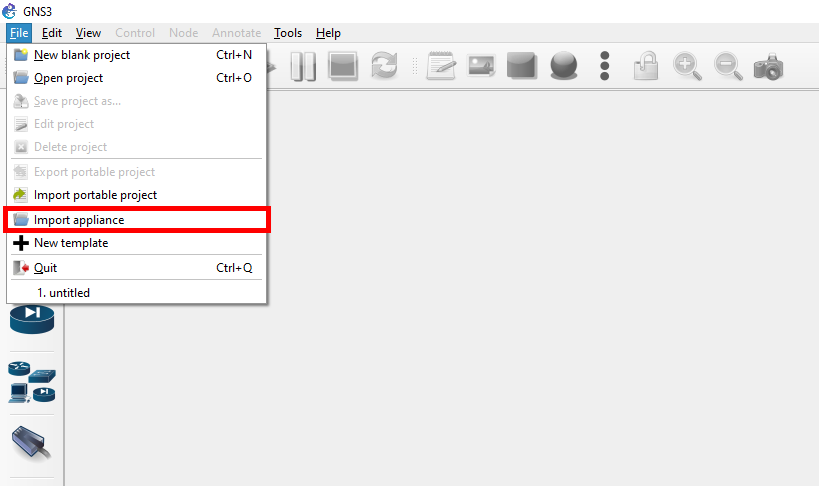
We’ll then jump over to GNS3 and import our appliance. This is achieved by navigating to File > Import appliance.
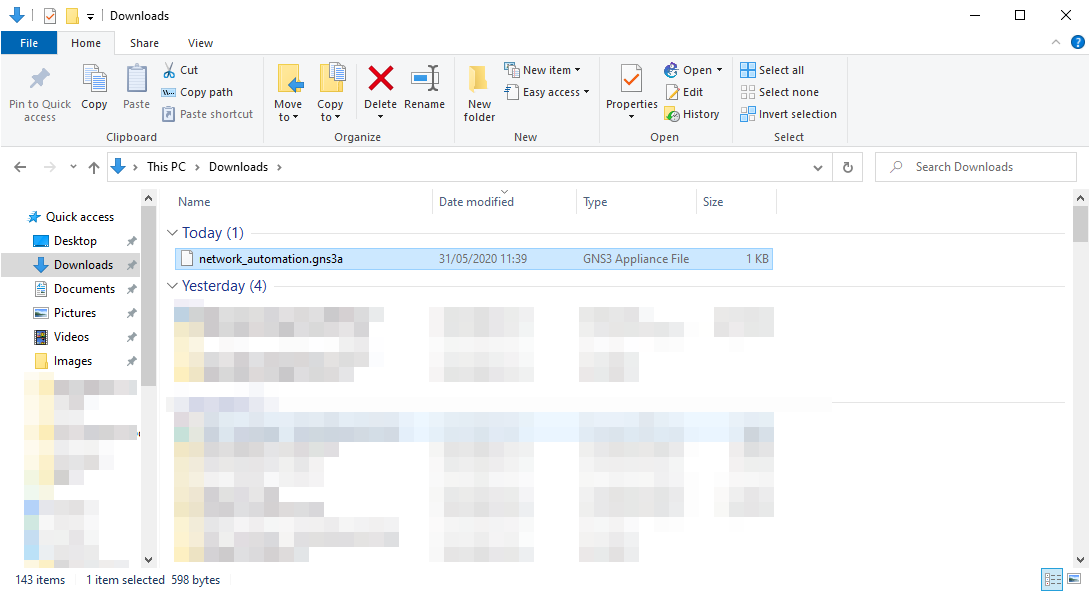
Next, we’ll select the network_automation.gns3a we’ve just downloaded.
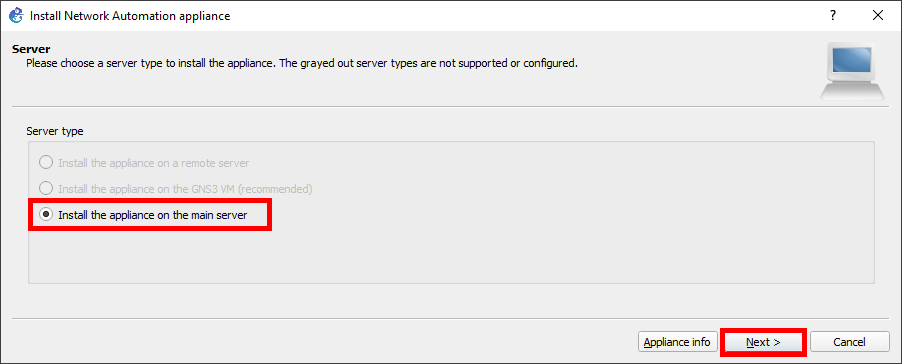
We’ll select the Install the appliance on the main server option and select Next > .
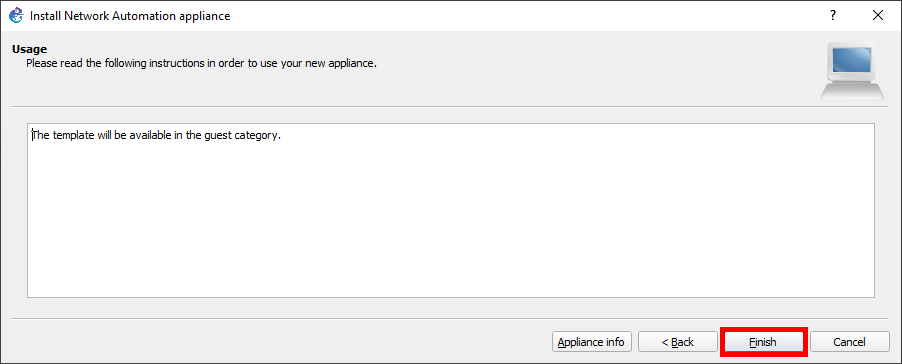
The installation of the appliance is now completed, so we’ll select Finish.

We can now find our Network Automation container under End Devices on the device panel.